A DIY epoxy garage floor kit can be worth it for a lightly used garage if you’re happy to spend real time on preparation and accept a shorter life. For a garage you drive in daily, use as a workshop or want to look good for years, a professional system is usually better value. The difference isn’t mainly the resin. It’s the prep: pros grind the concrete and build thicker layers, while most kits are thin coats on lightly cleaned concrete.
Quick comparison
| DIY kit | Professional floor | |
|---|---|---|
| Cost | Materials only, a fraction of pro prices | £60 to £100 per m² before VAT |
| Single garage (15 m²) | Low hundreds | About £900 to £1,500 |
| Prep | Cleaning, etching or hired sander | Diamond grinding or shot blasting |
| Damp testing | Rarely | Should be standard |
| Thickness | Thin | Thicker, multi-layer |
| Topcoat | Sometimes | Usually, often UV-stable |
| Lifespan | Shorter | Much longer when done well |
| If it fails | Grind off and start again | Guarantee, if offered |
Professional prices are guides from our cost guide. See epoxy garage floor cost for more detail.
What a DIY kit can do well
- seal a dusty concrete floor
- brighten up a storage garage or shed
- give a tidy look for a modest budget
- work on a newish, sound, dry slab with no oil stains
If the garage is mainly storage, you rarely park on it and you’re realistic about lifespan, a good kit can be a sensible choice.
Where DIY usually goes wrong
Prep
This is the big one. Most failed floors fail because the coating didn’t bond. Concrete has a weak top layer and is often contaminated with oil. Professional installers grind it off with heavy machines and industrial vacuums. A kit’s etch and scrub often doesn’t remove enough.
Damp
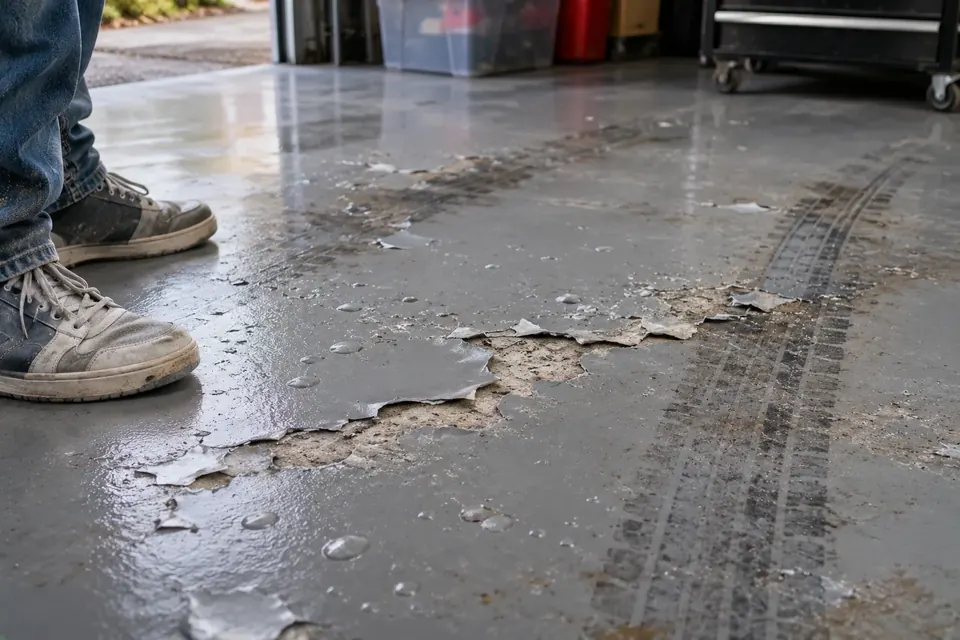
Many garages have no damp-proof membrane. Moisture rising through the slab can push off a coating as blisters and peeling. Pros test for this. DIYers rarely do. See why epoxy floors peel.
Thickness
Kits are often thin, single-coat products. They can wear through in tyre tracks and are more prone to hot tyre pickup.
Conditions
Cold garages slow curing and damp air can spoil the finish. Pros plan the timing and may heat the space.
Working time
Once mixed, two-part resin has a limited pot life. Rushing at the end leads to roller marks, thin patches and bubbles.
The hidden cost of a failed DIY floor
If a DIY coating peels, a pro can’t just coat over it. The old coating has to be ground off first, which adds time and cost. So a kit that fails within a year or two can make the eventual professional job dearer than if you’d gone pro first.
If you do go DIY
Give it the best chance:
- Test for damp. Tape a square of clear plastic to the floor for a day or two. Condensation underneath or a darker patch suggests moisture.
- Degrease thoroughly. Oil stains must be fully removed.
- Hire a floor grinder with a vacuum if you can, rather than relying on etching alone.
- Repair cracks with a suitable filler.
- Check the temperature on the tin and wait for a mild, dry spell.
- Mix properly and work in manageable sections.
- Add a topcoat if the kit offers one.
- Wait the full cure time before driving on it.
When to go professional
- you’ll park on it daily
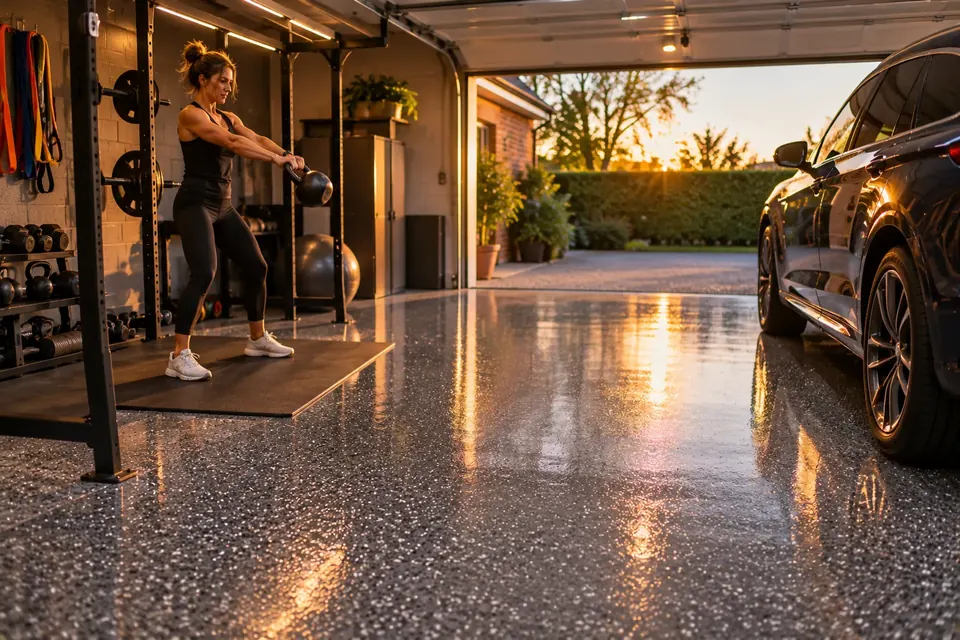
- it’s a workshop, gym or heavy-use space
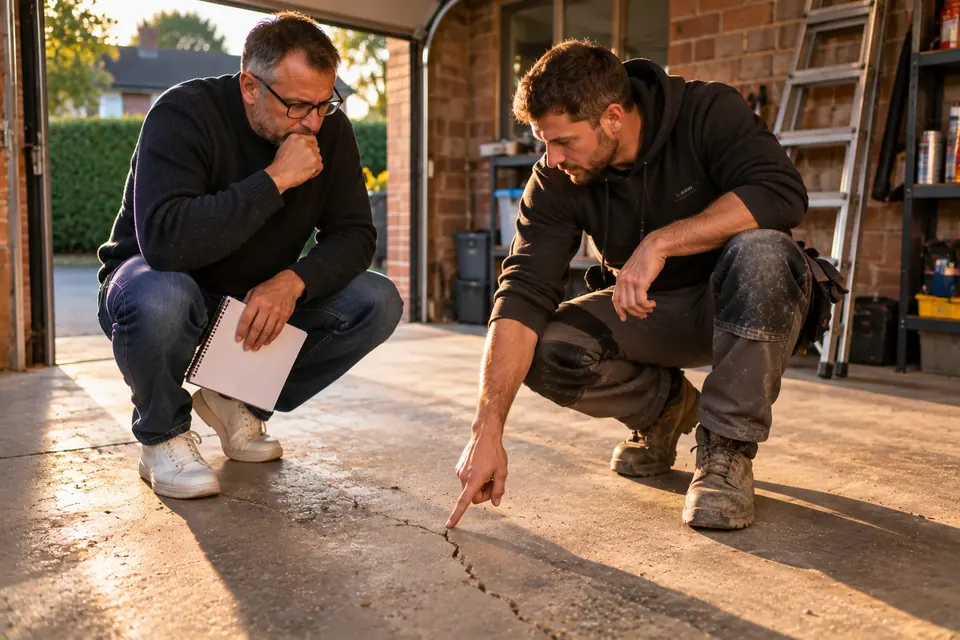
- the slab is old, stained, cracked or painted
- you want a flake, metallic or premium finish
- you want a guarantee
- you suspect damp
Professionals can also offer faster-curing systems. See epoxy vs polyaspartic.
A realistic DIY weekend
It helps to know what you’re signing up for. A careful DIY job on a single garage usually looks like this. On the first day you empty the garage, degrease the floor, fill cracks and grind or etch the surface. You then vacuum every bit of dust, because dust left on the slab stops the coating sticking. On the second day you mix and roll the first coat, working from the back wall towards the door so you don’t paint yourself in. A second coat or topcoat follows once the first is ready to recoat. Then the garage sits empty while the coating cures, which can be a week before you drive on it.
Most of the effort is in the first day. If you’re tempted to skip the grinding and go straight to the rolling, that’s the point where a kit is most likely to fail. Be honest with yourself about the time, the kit hire and the mess before you buy.
FAQs
Is DIY epoxy worth it?
For a lightly used, dry, sound garage floor, it can be. For daily parking or a long-lasting finish, professional installation usually pays off.
Why do DIY epoxy floors peel?
Mostly poor prep, damp and thin coats. Hot tyres can lift thin coatings that aren’t fully cured.
How much cheaper is DIY?
Materials for a single garage typically cost a fraction of a professional floor, but the gap narrows if you hire a grinder and buy a topcoat.
Can a professional fix my failed DIY floor?
Yes, but they’ll usually need to grind the old coating off first, which adds to the cost.
Find a checked installer near you
If you’d rather have it done properly, find garage floor installers near you and check each firm’s Legit Score before getting quotes.